For teachers and classes working on the Alaska Future Teacher Space mural project with UAF
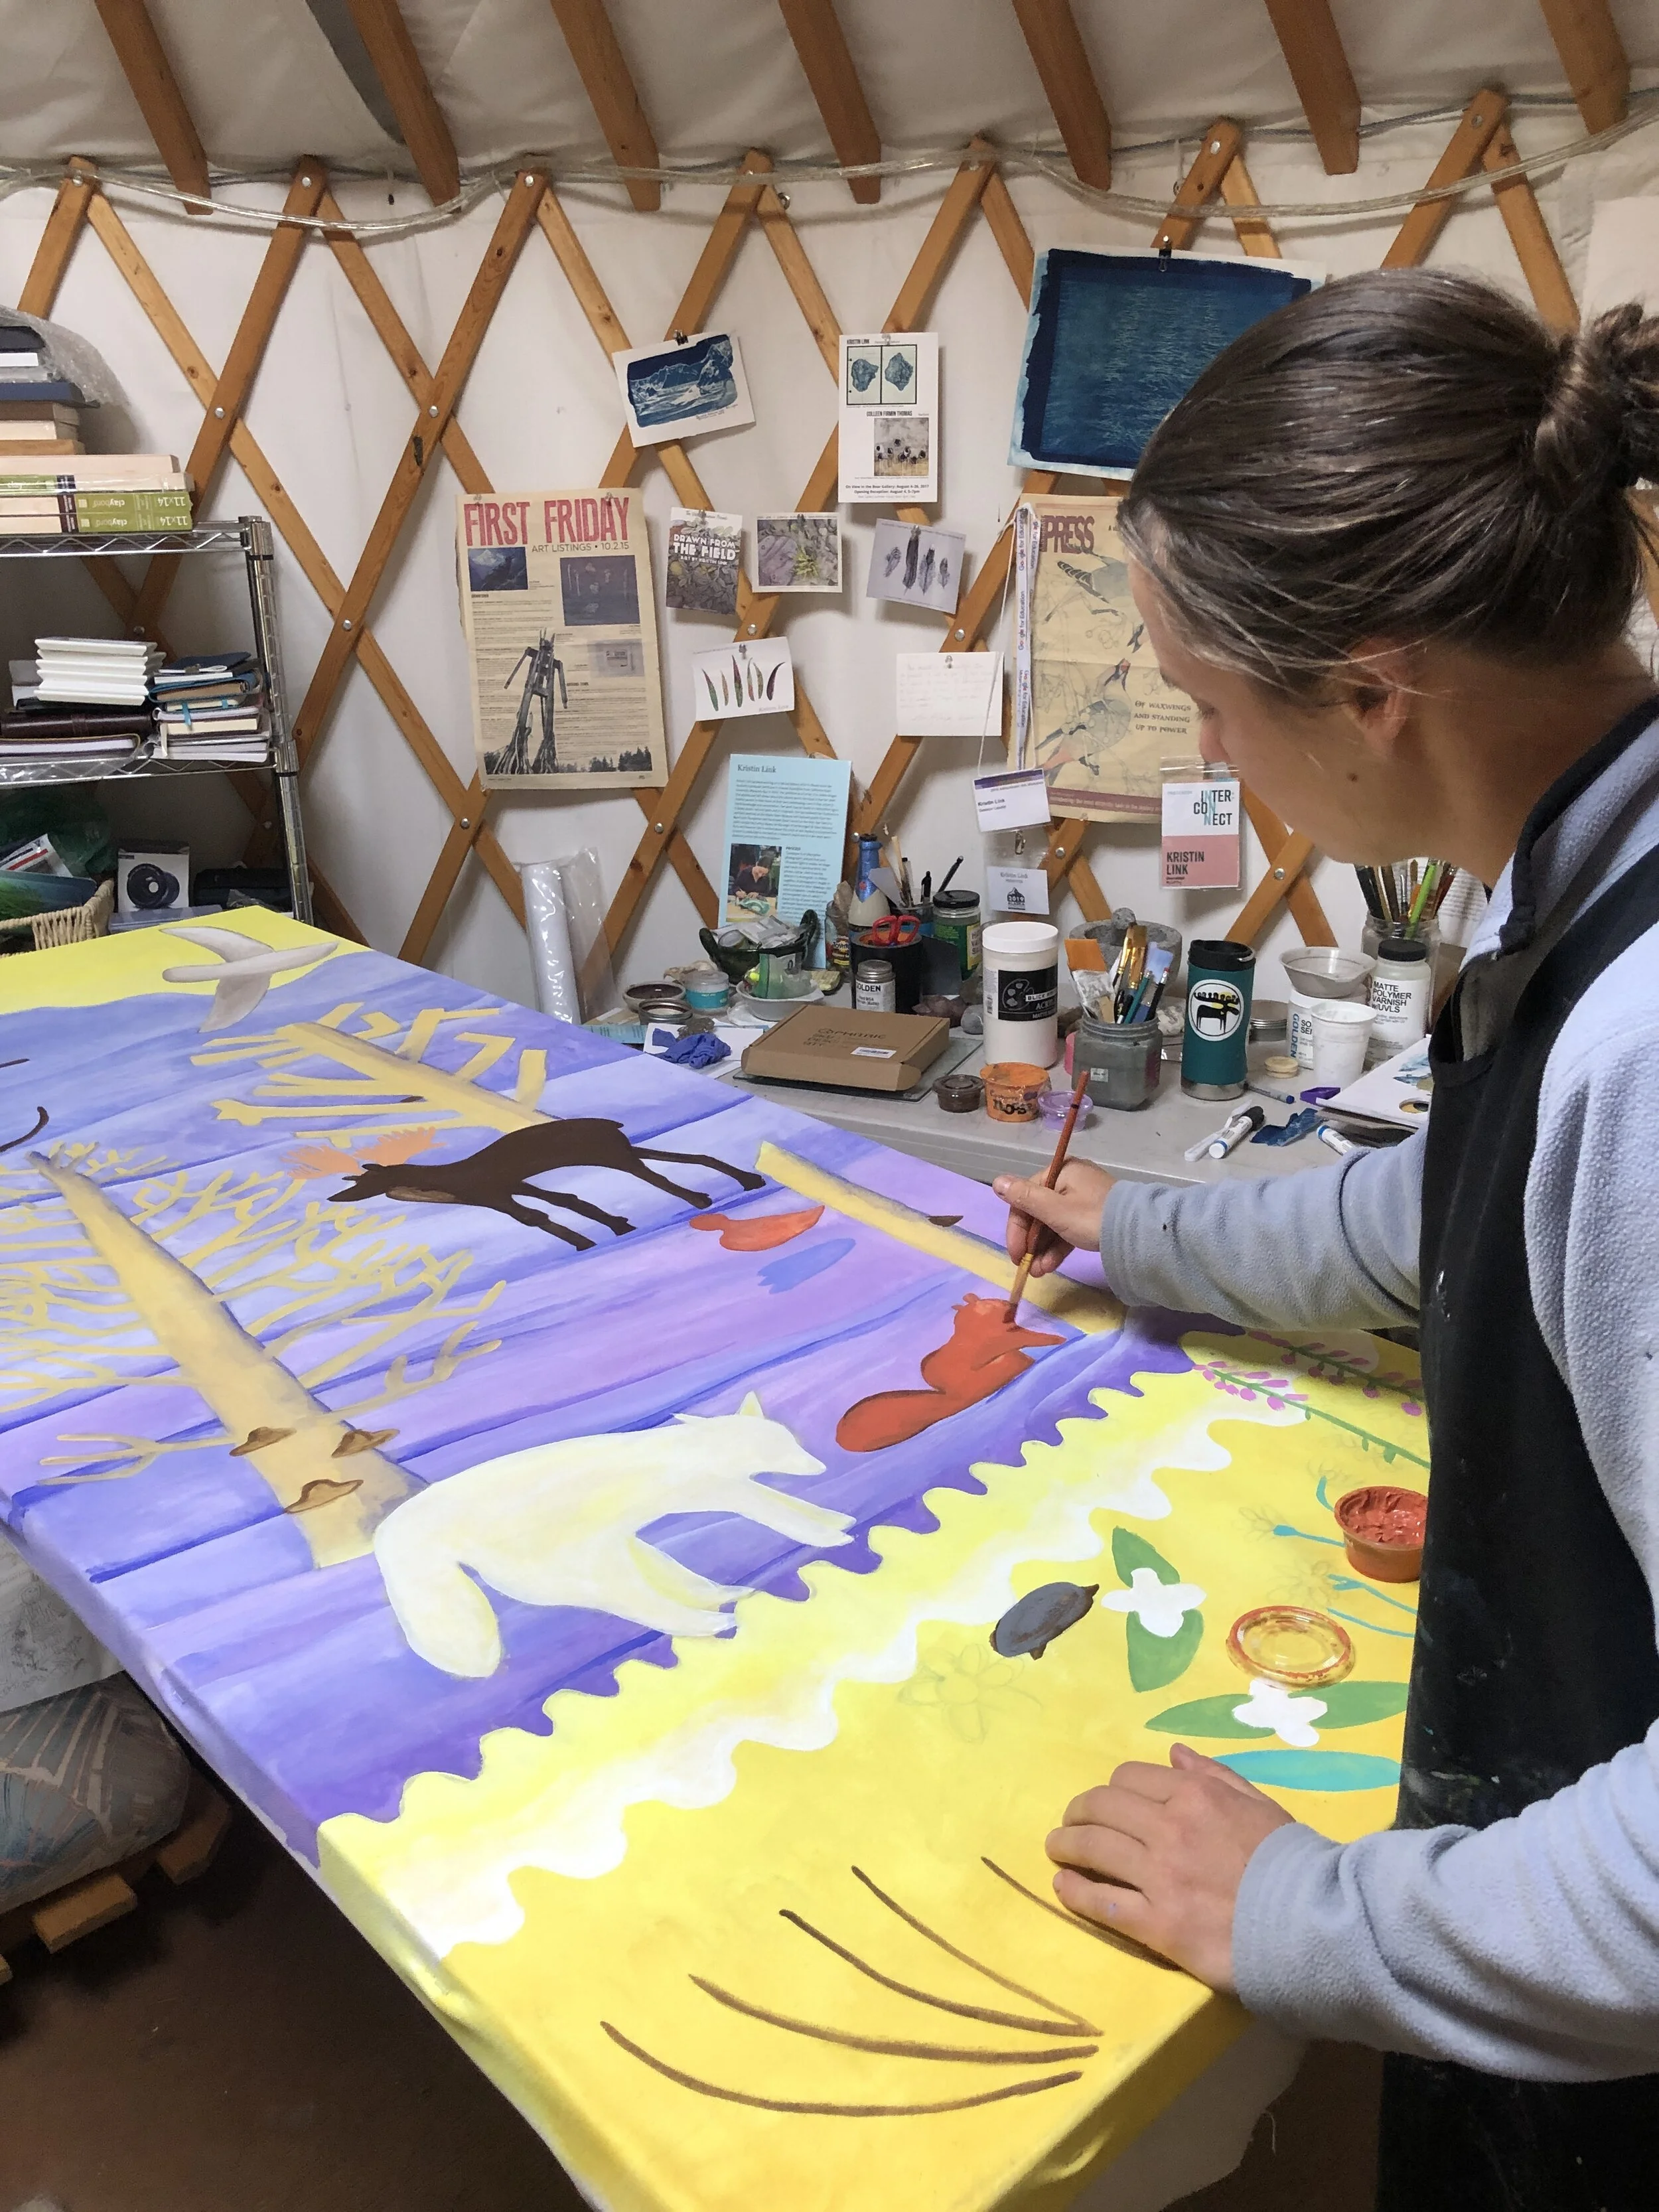
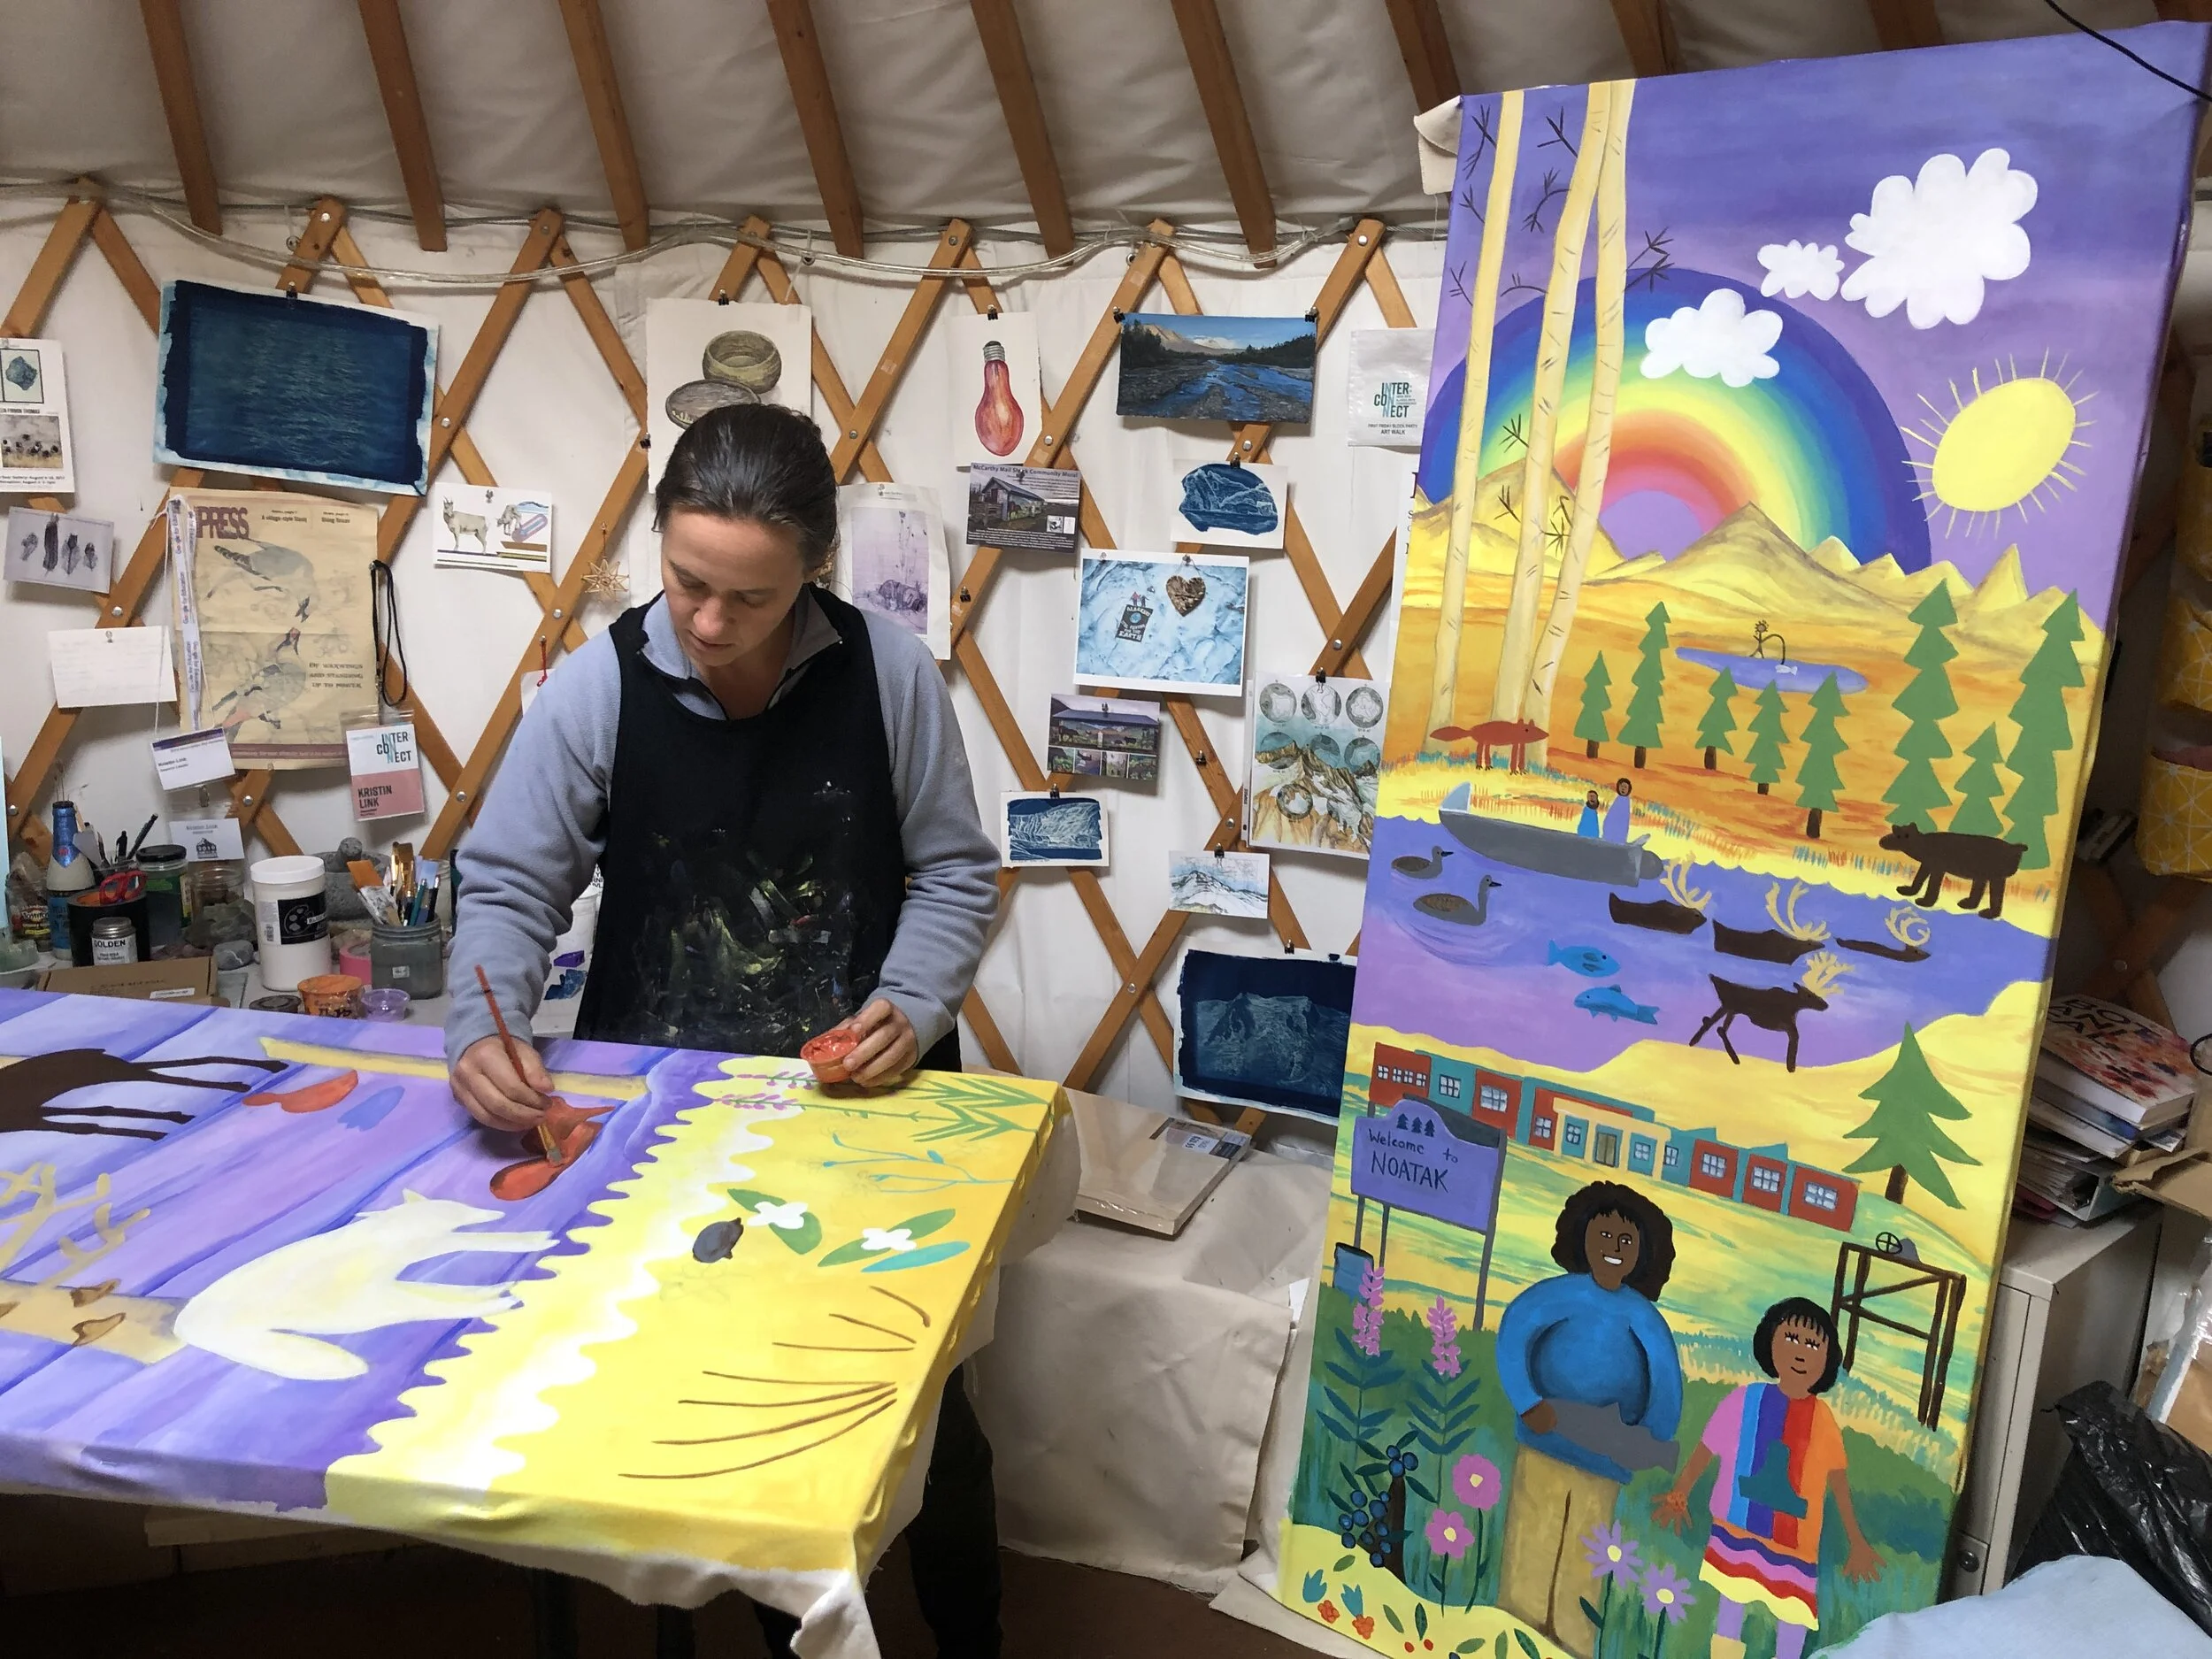
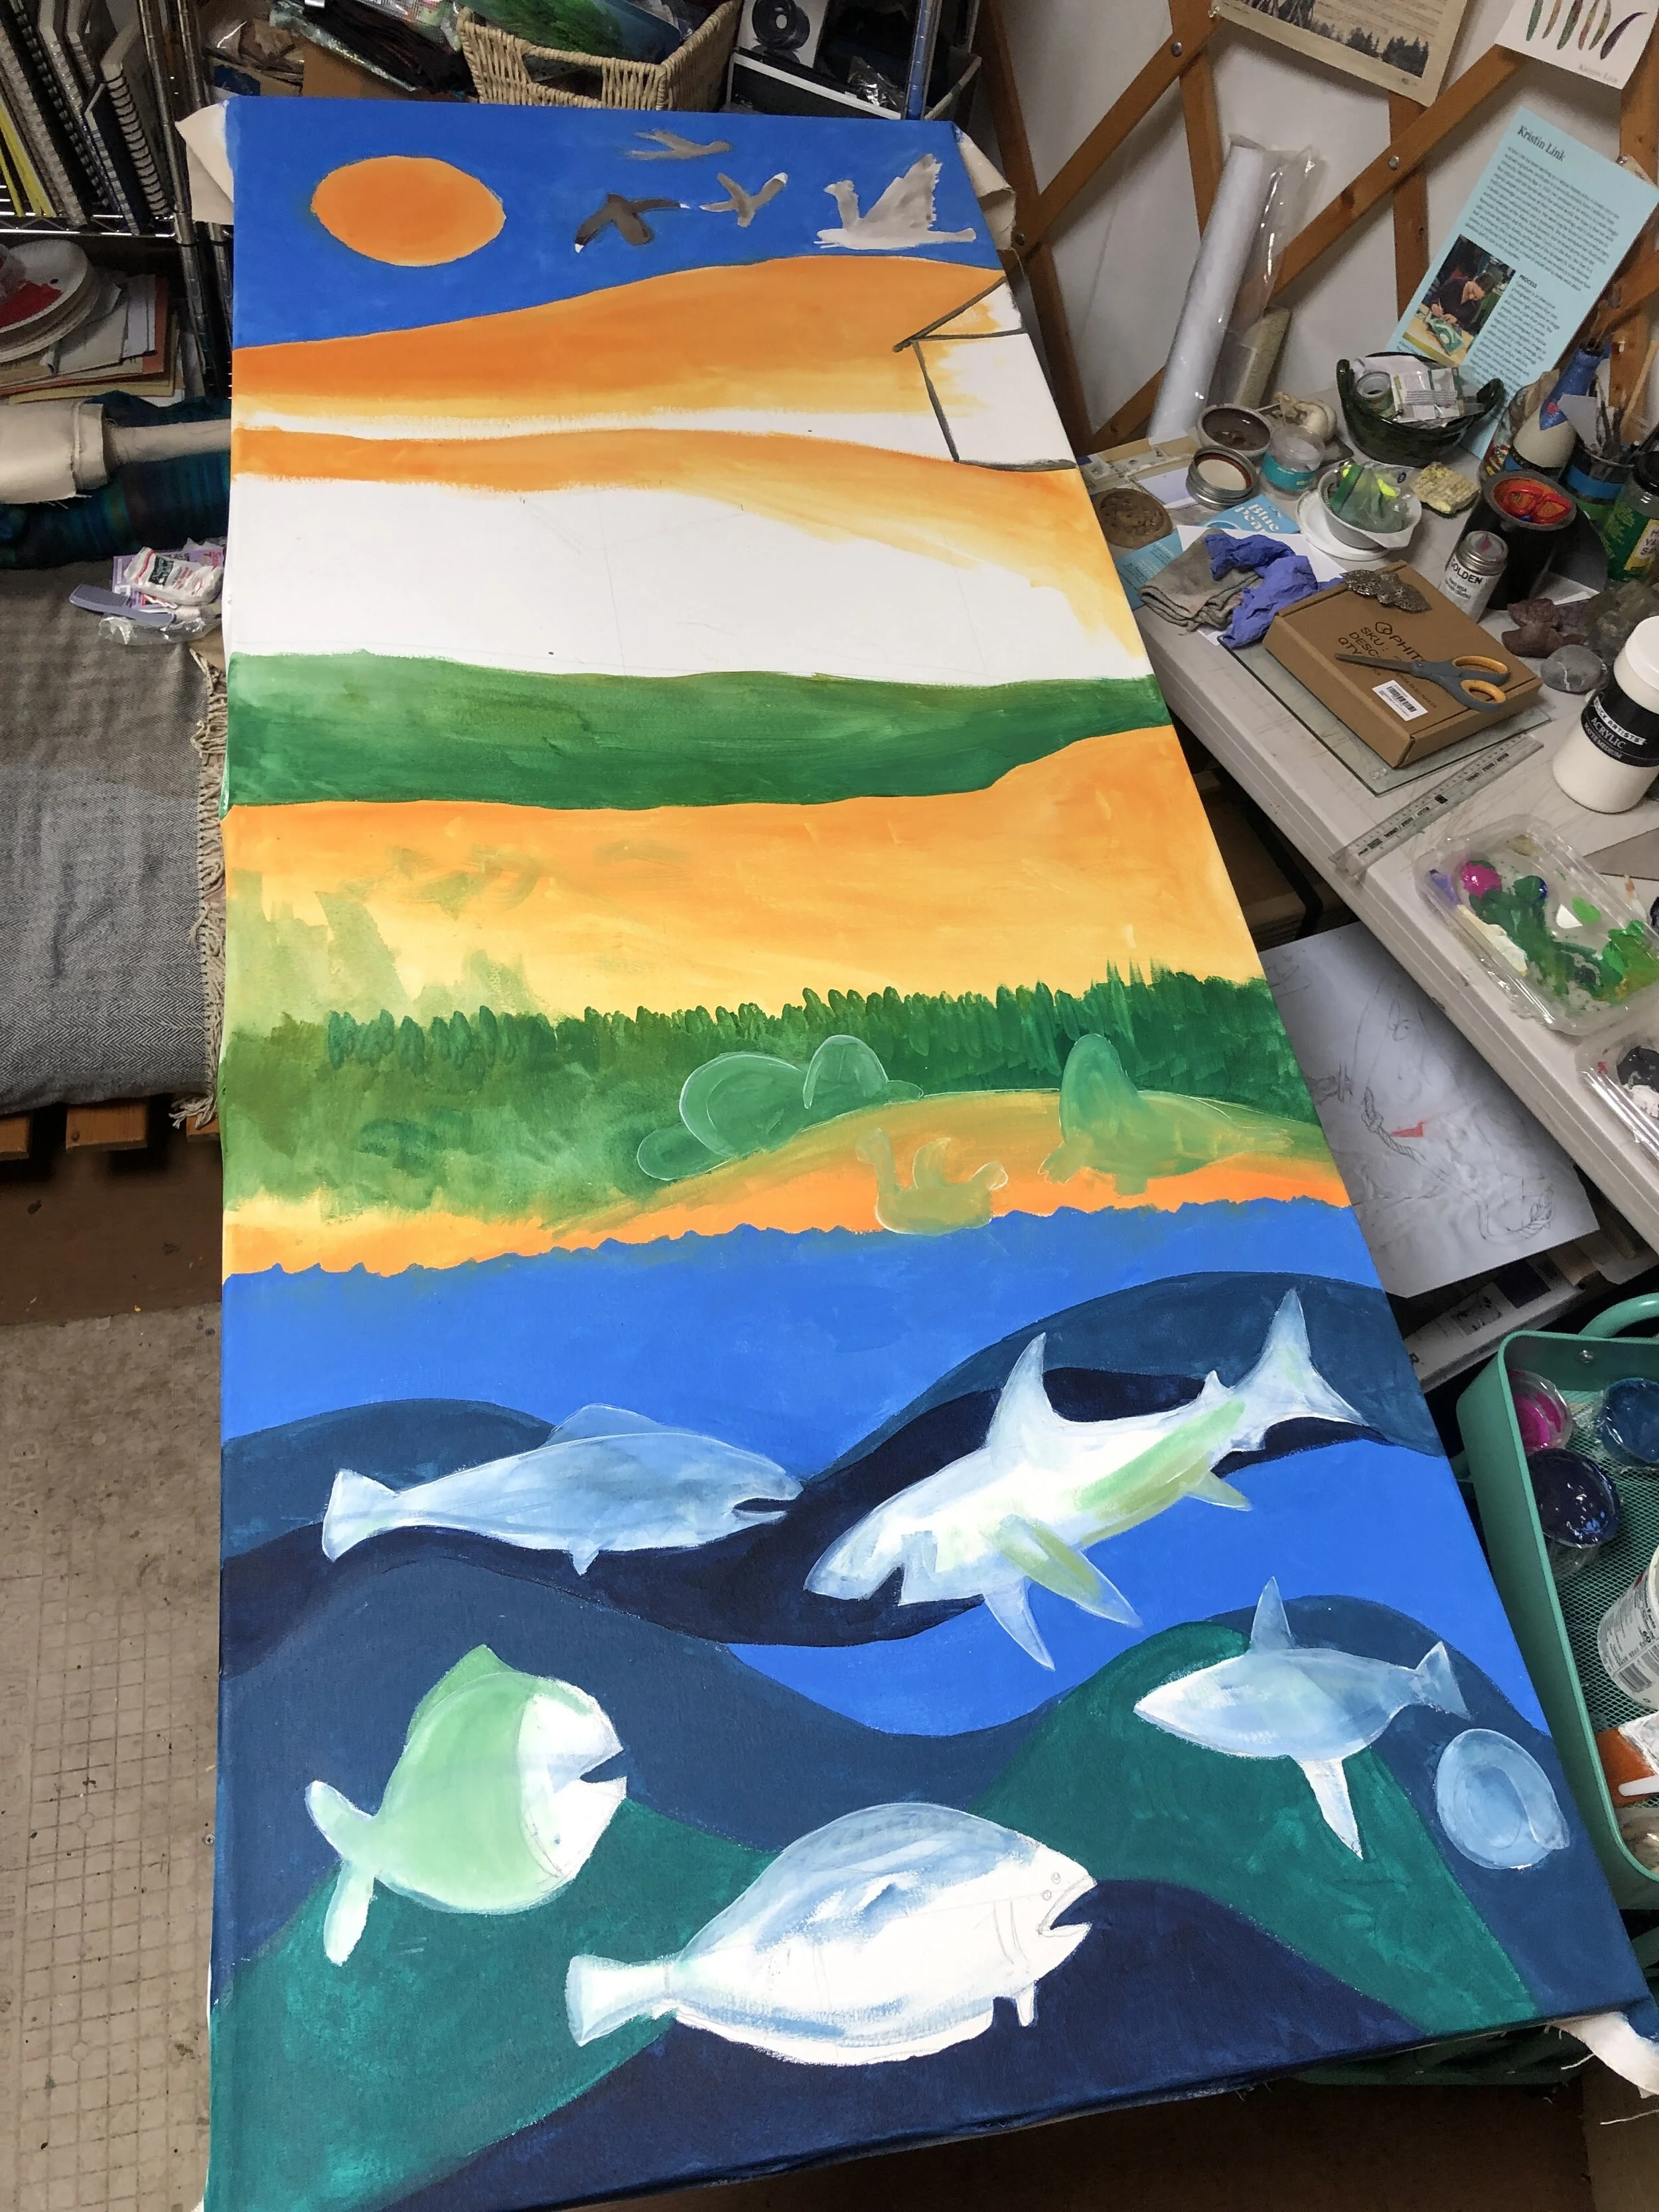
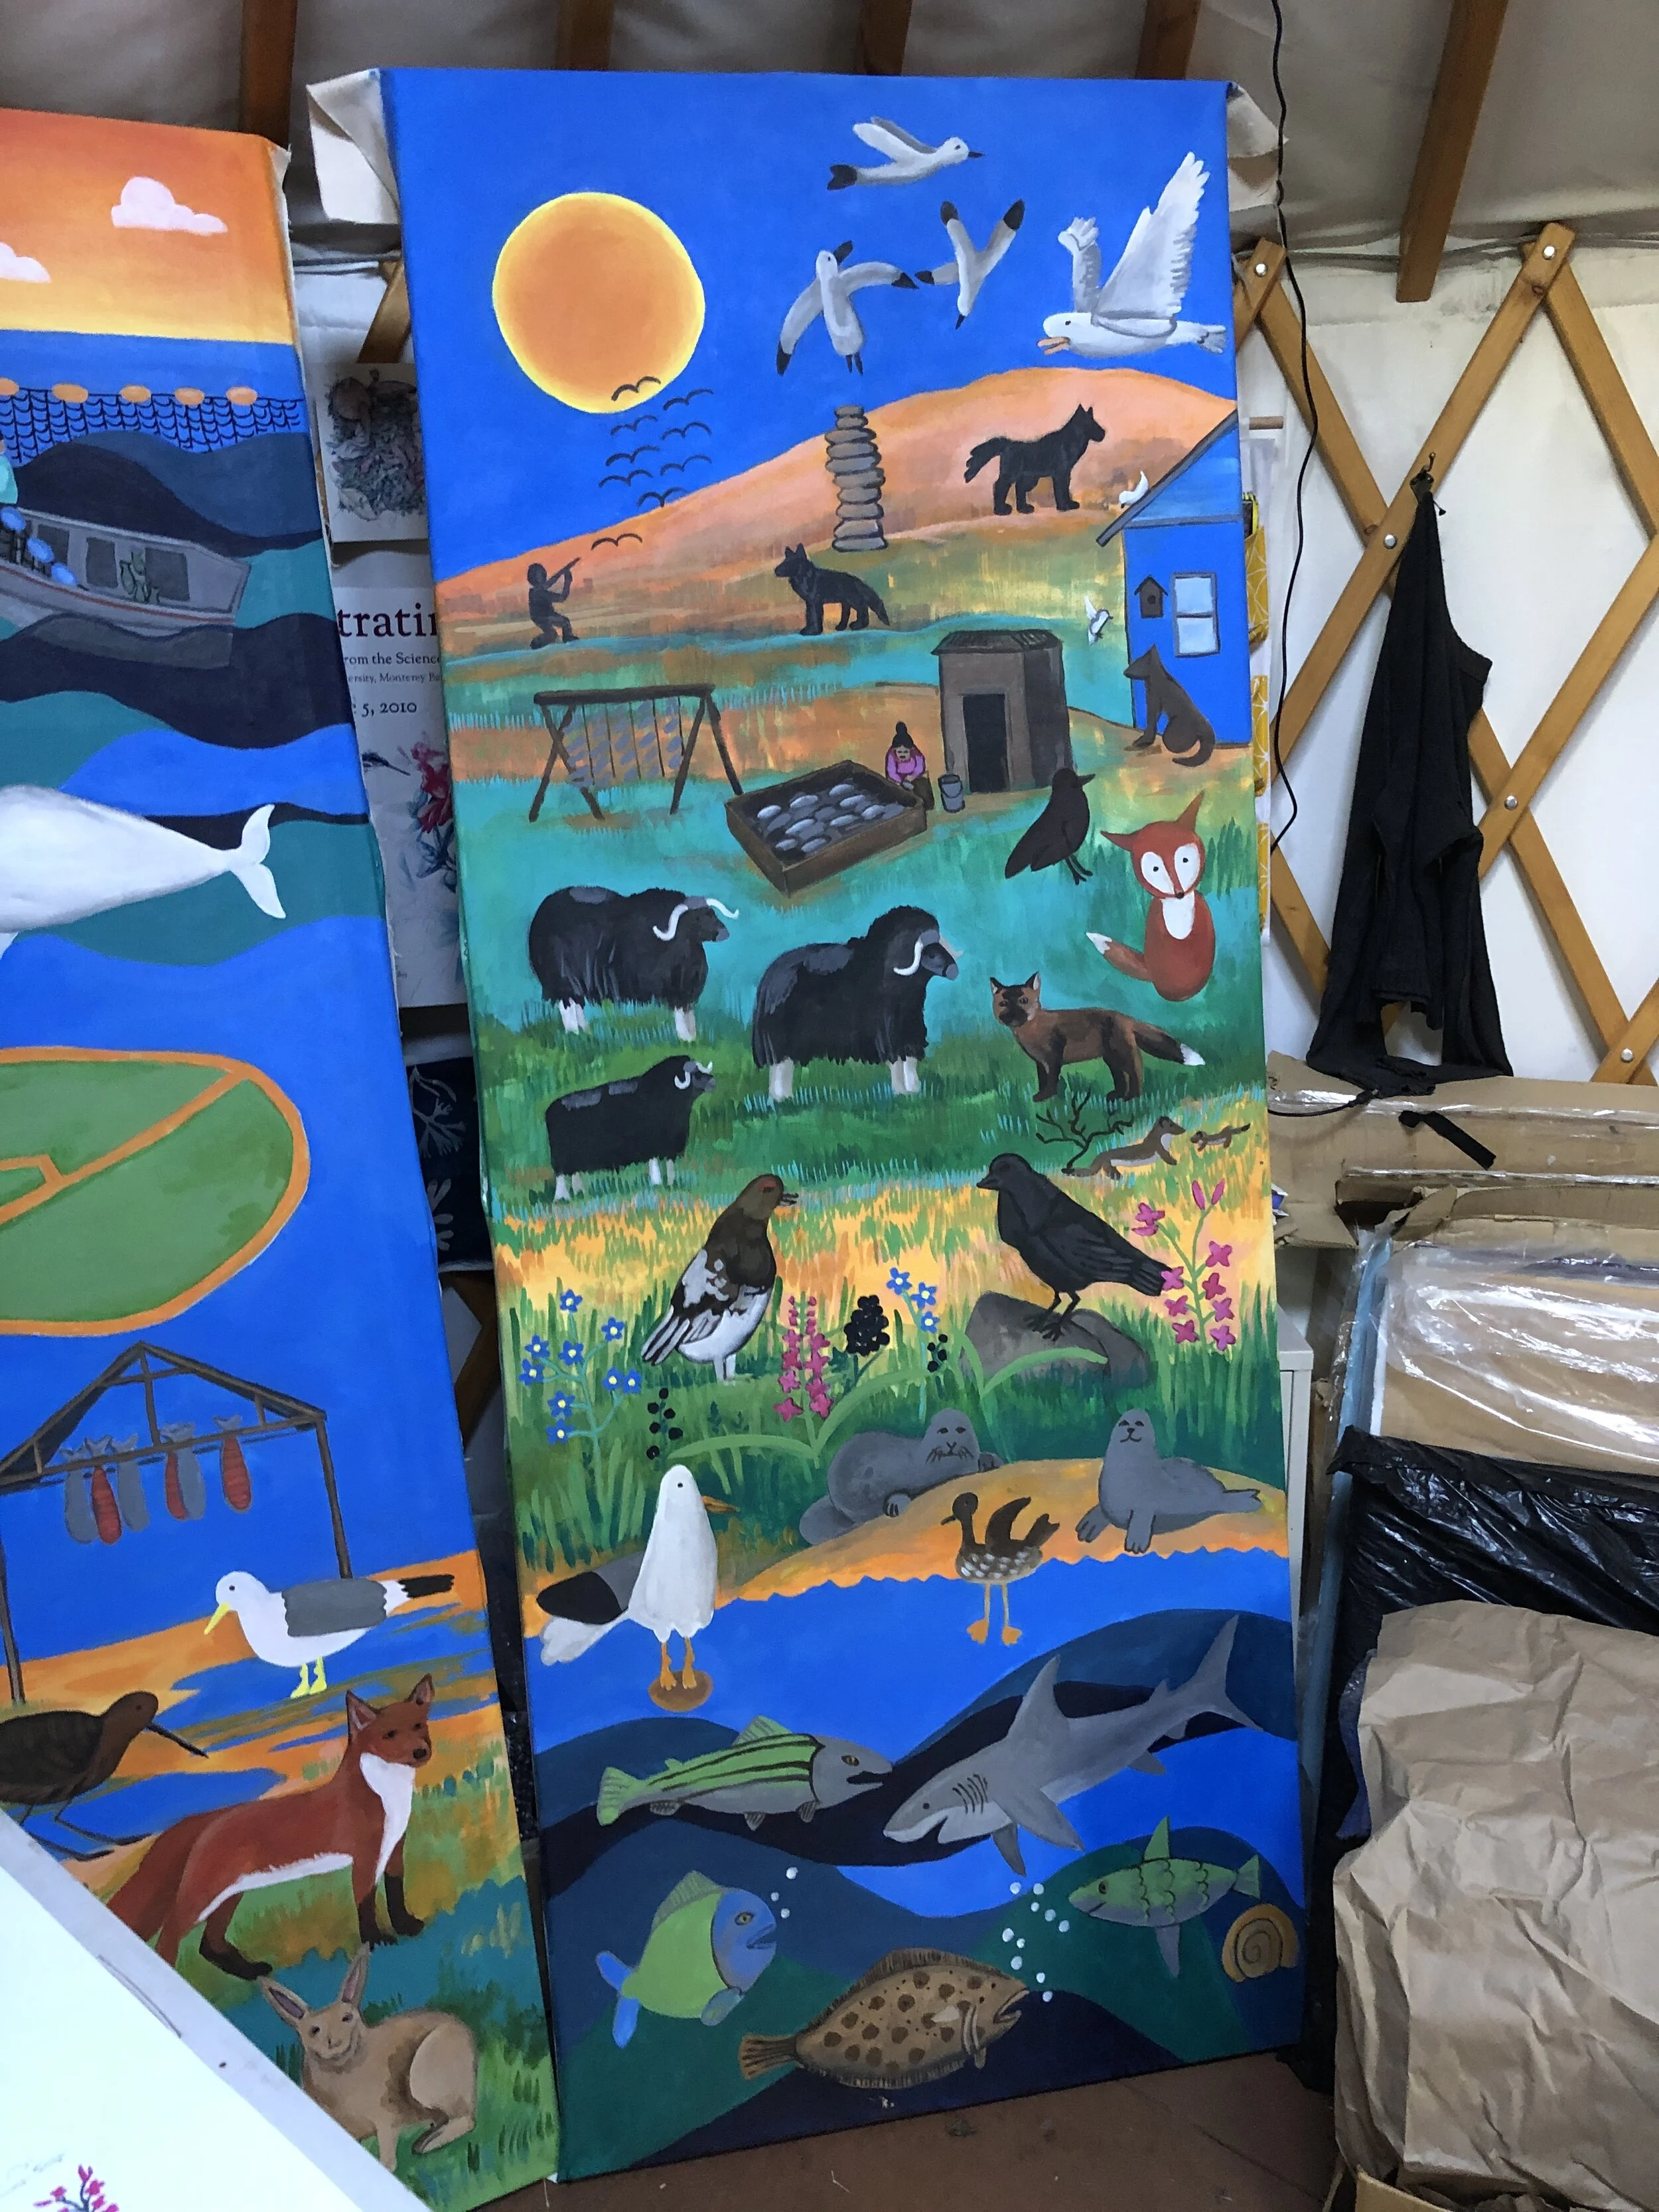
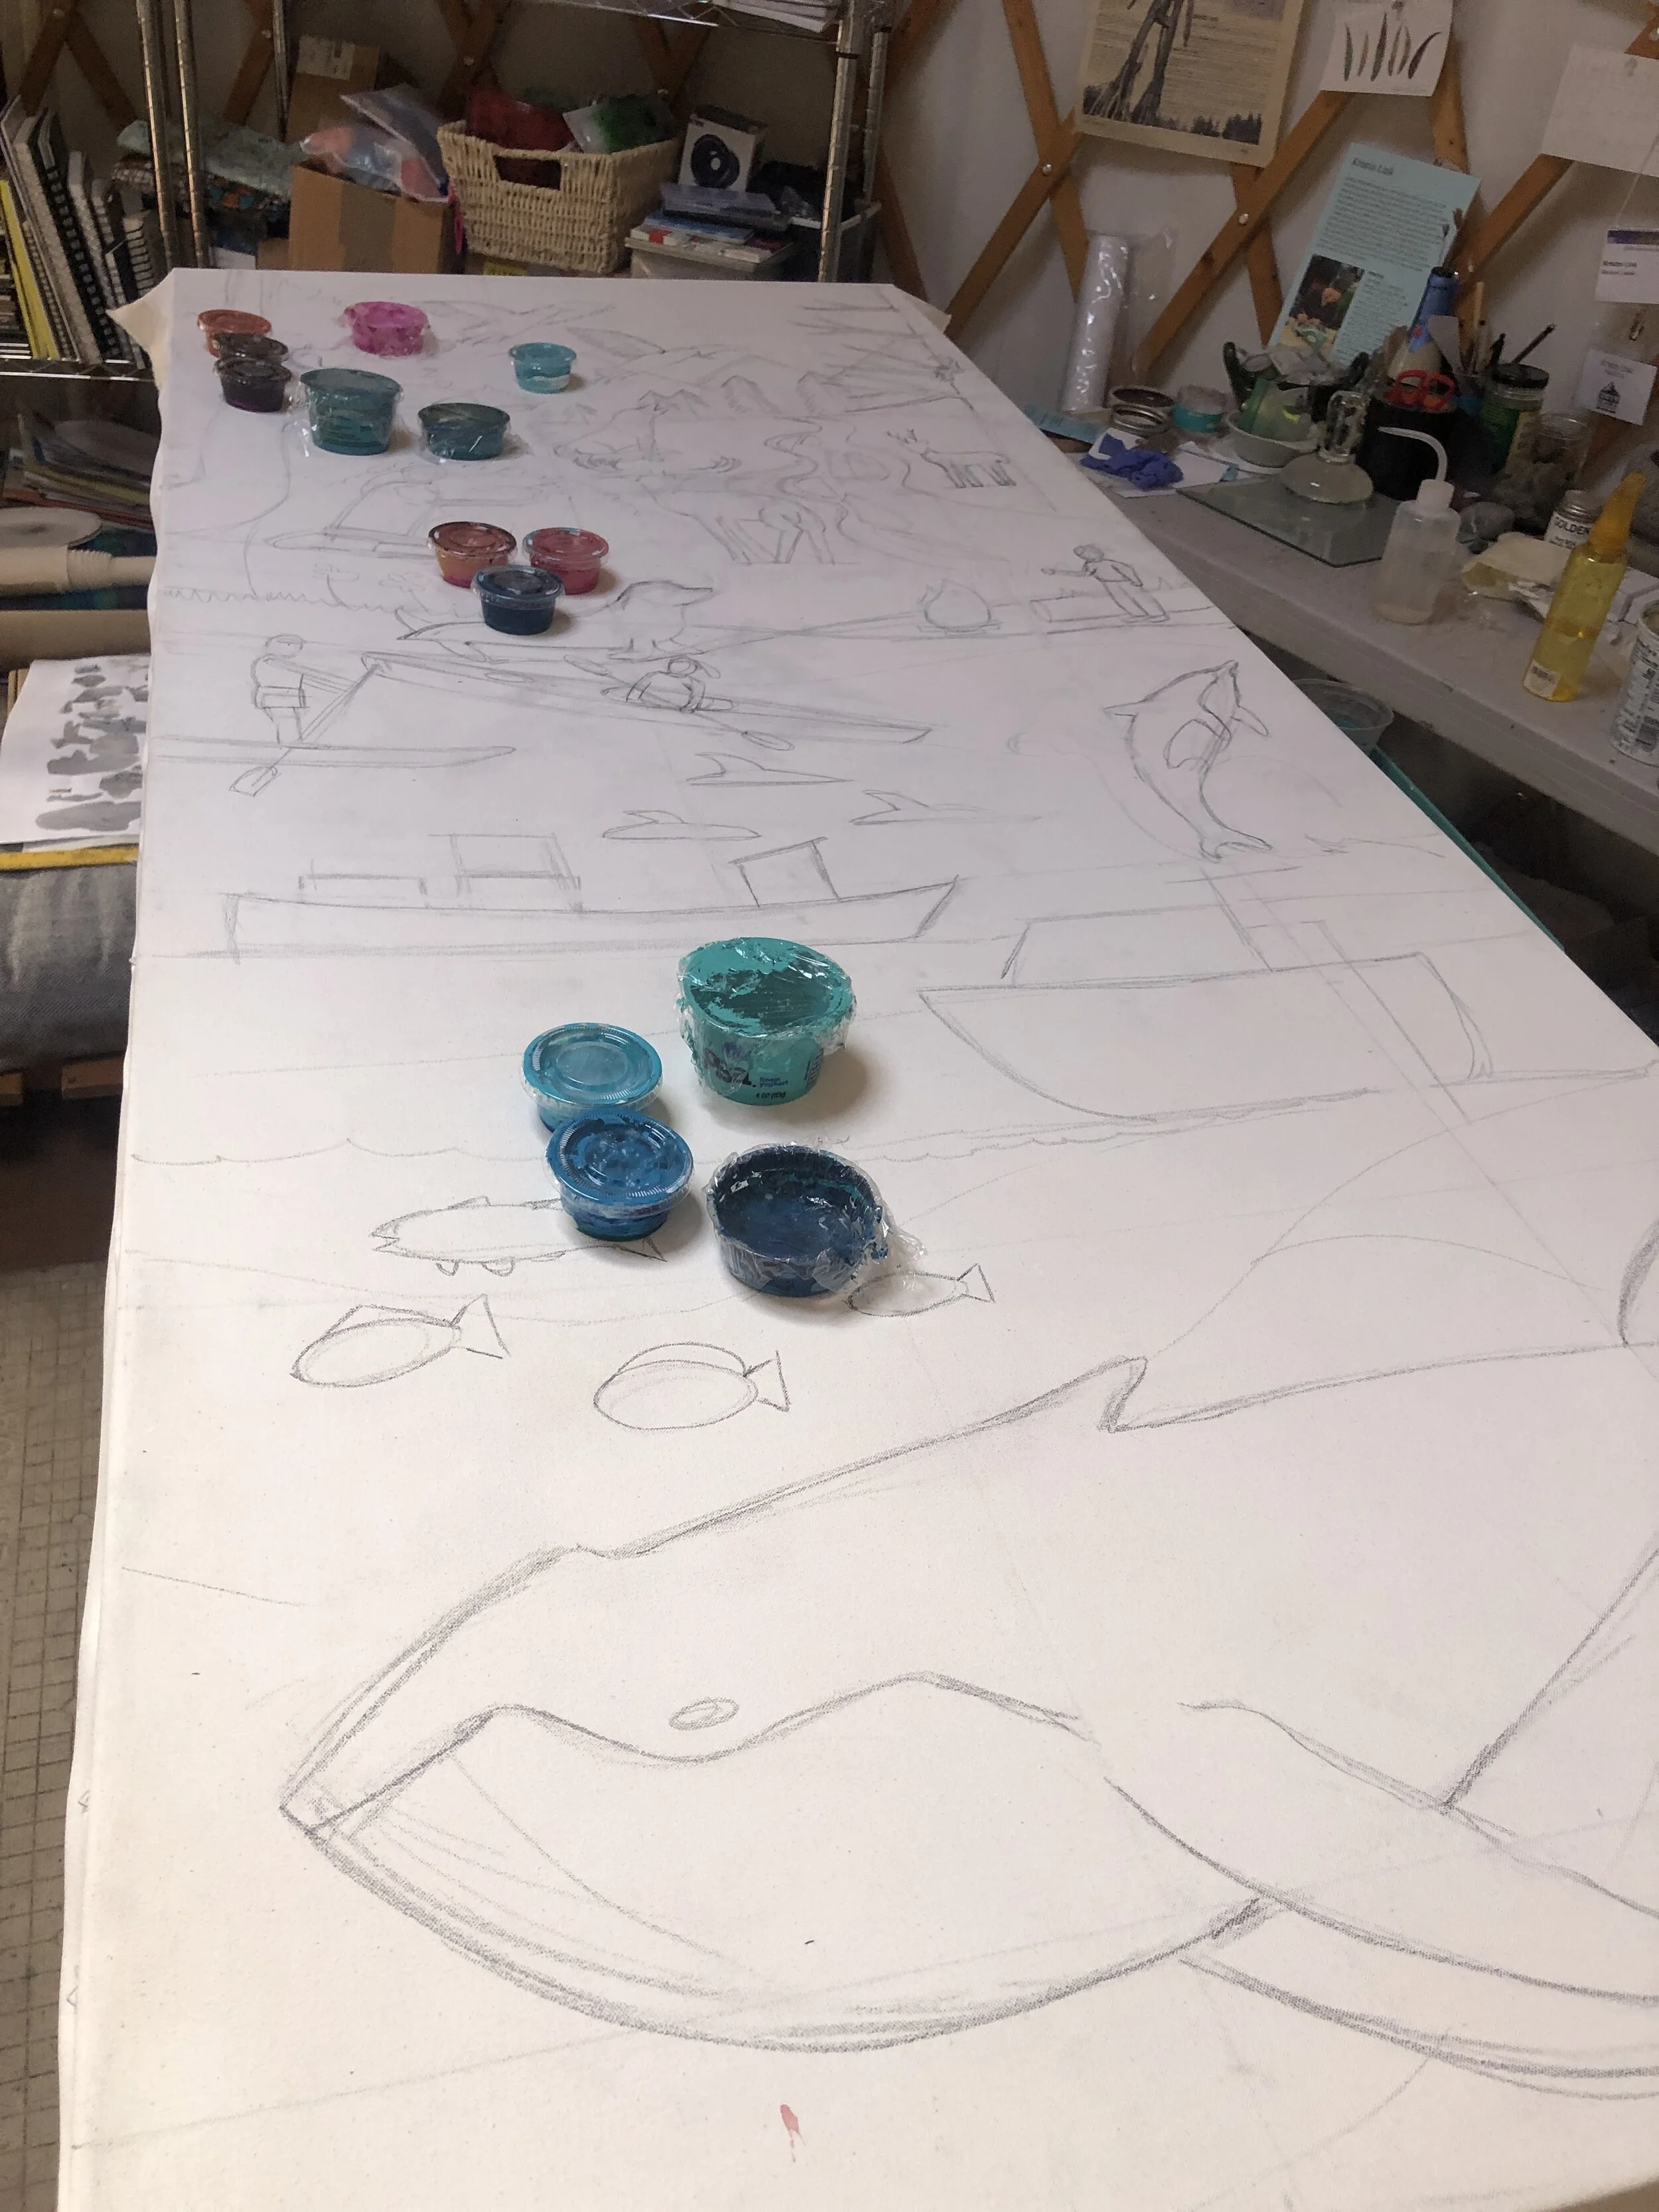
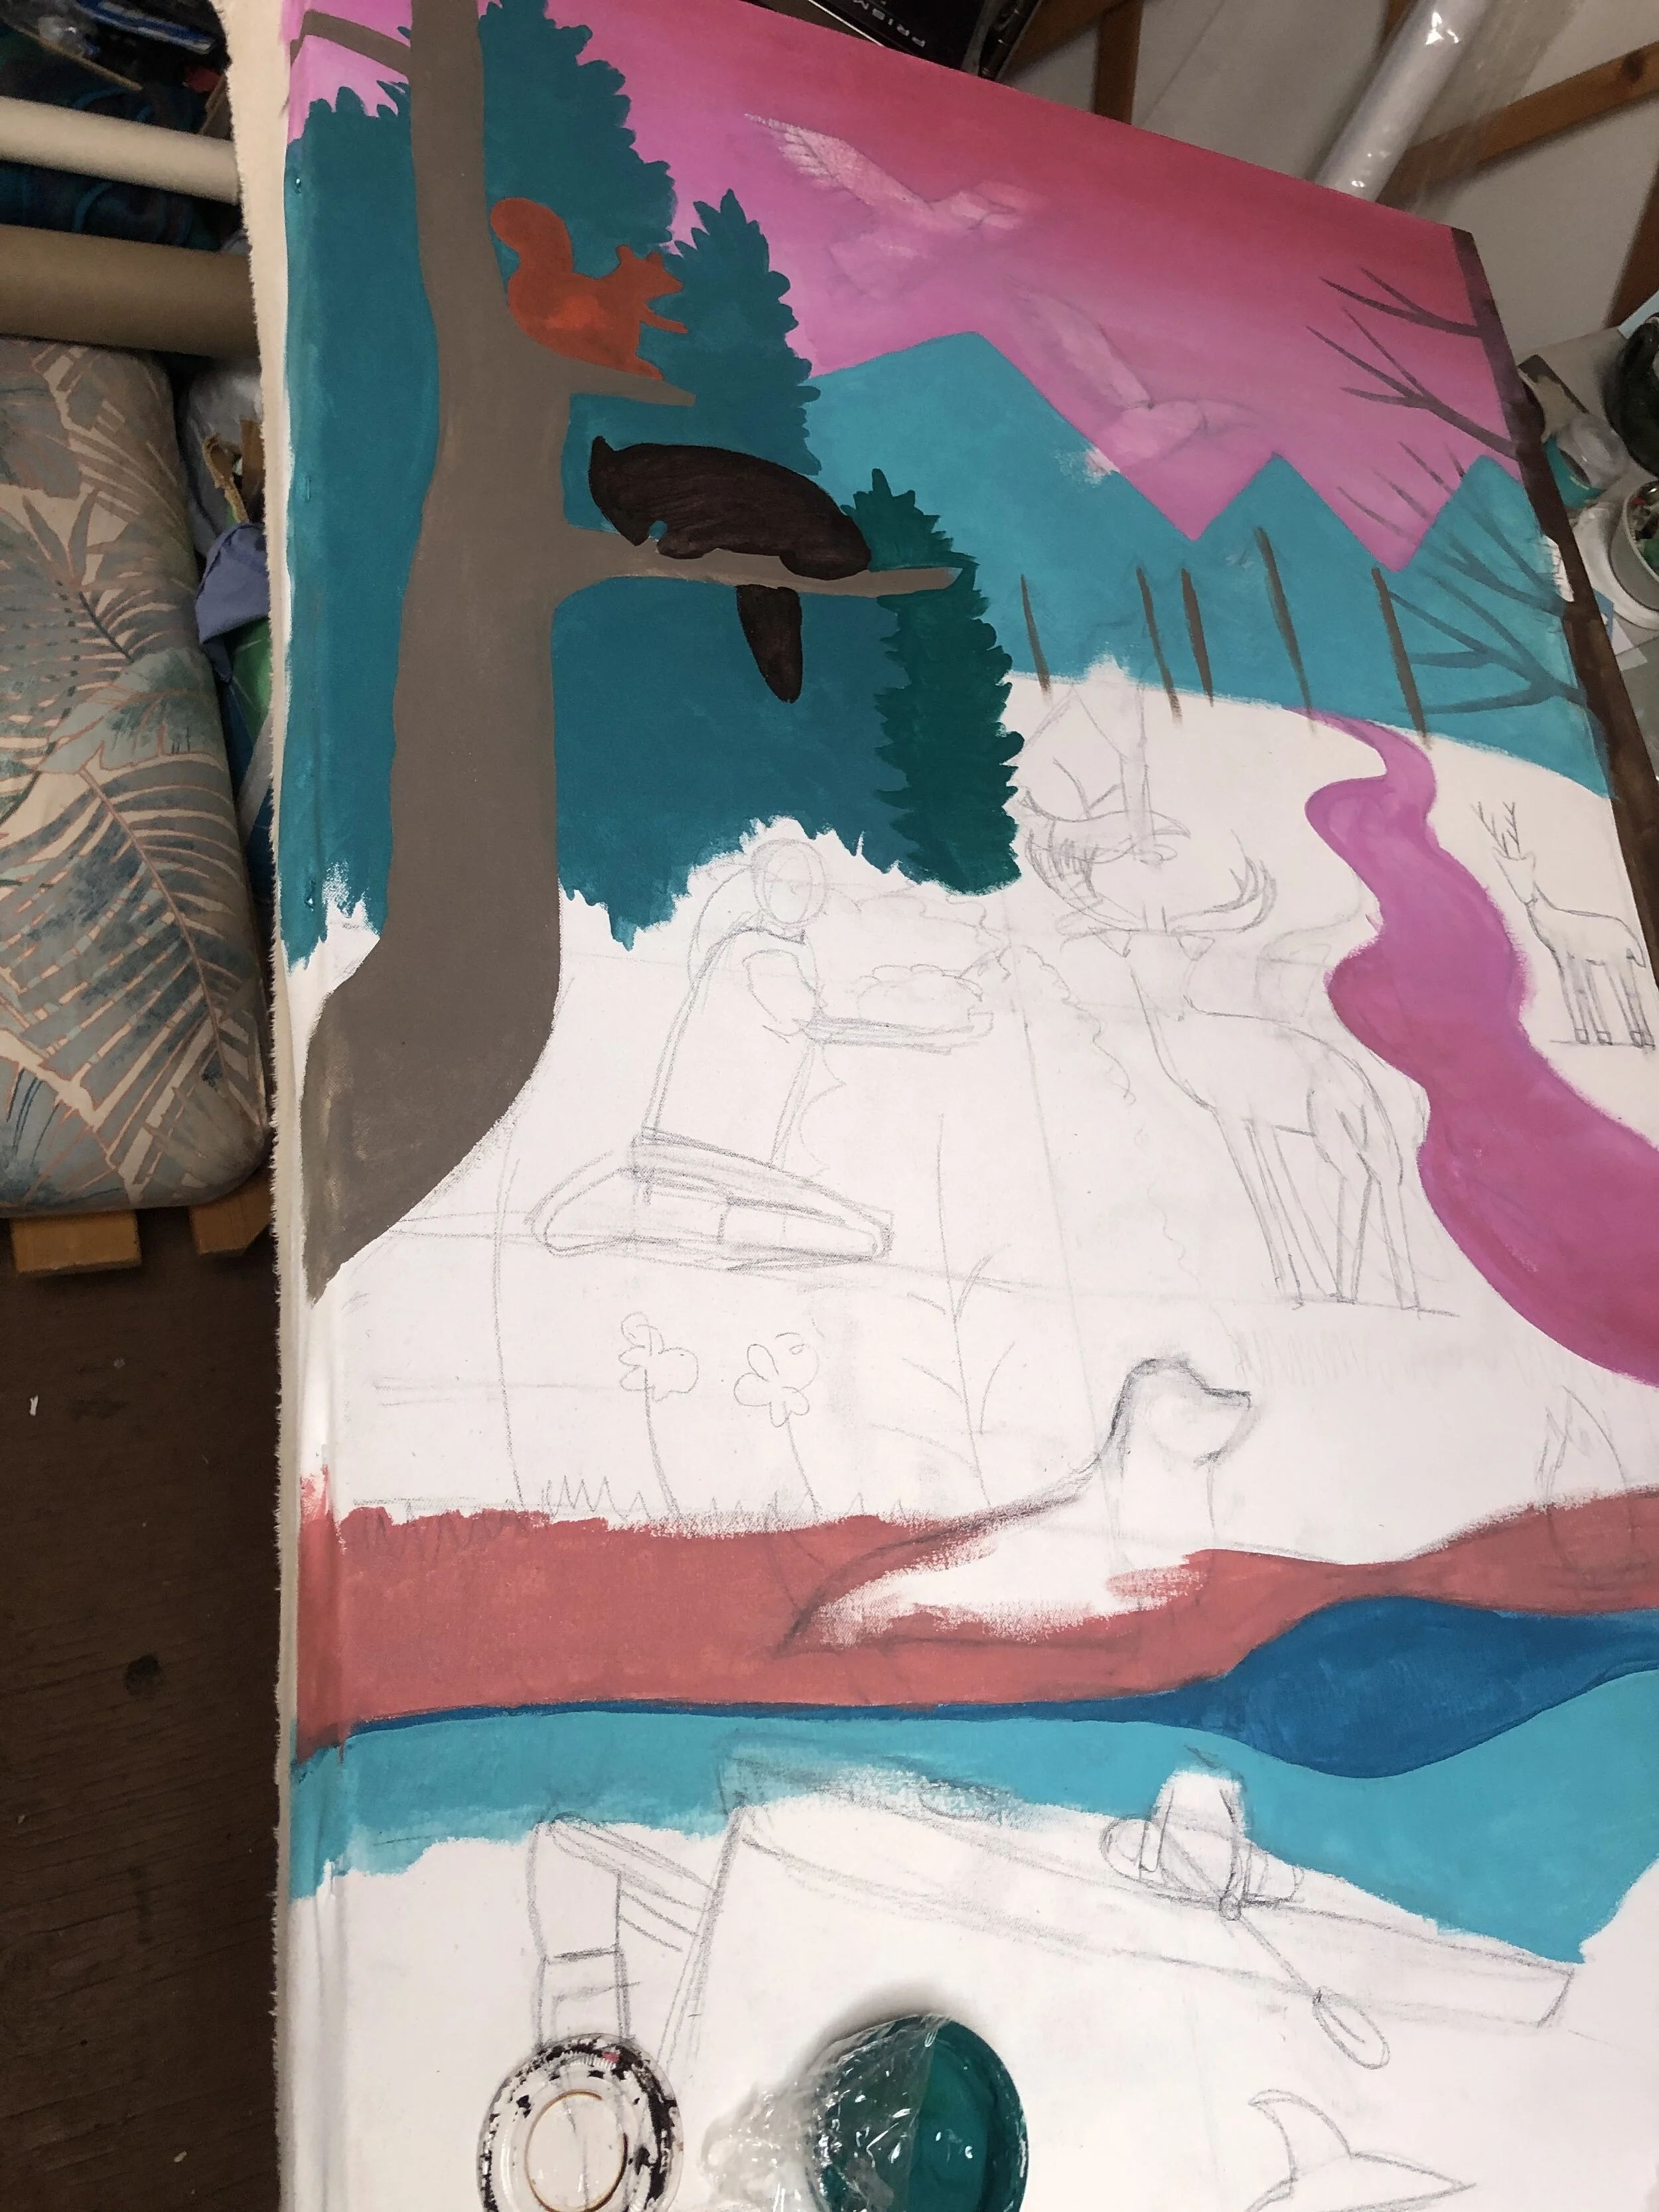
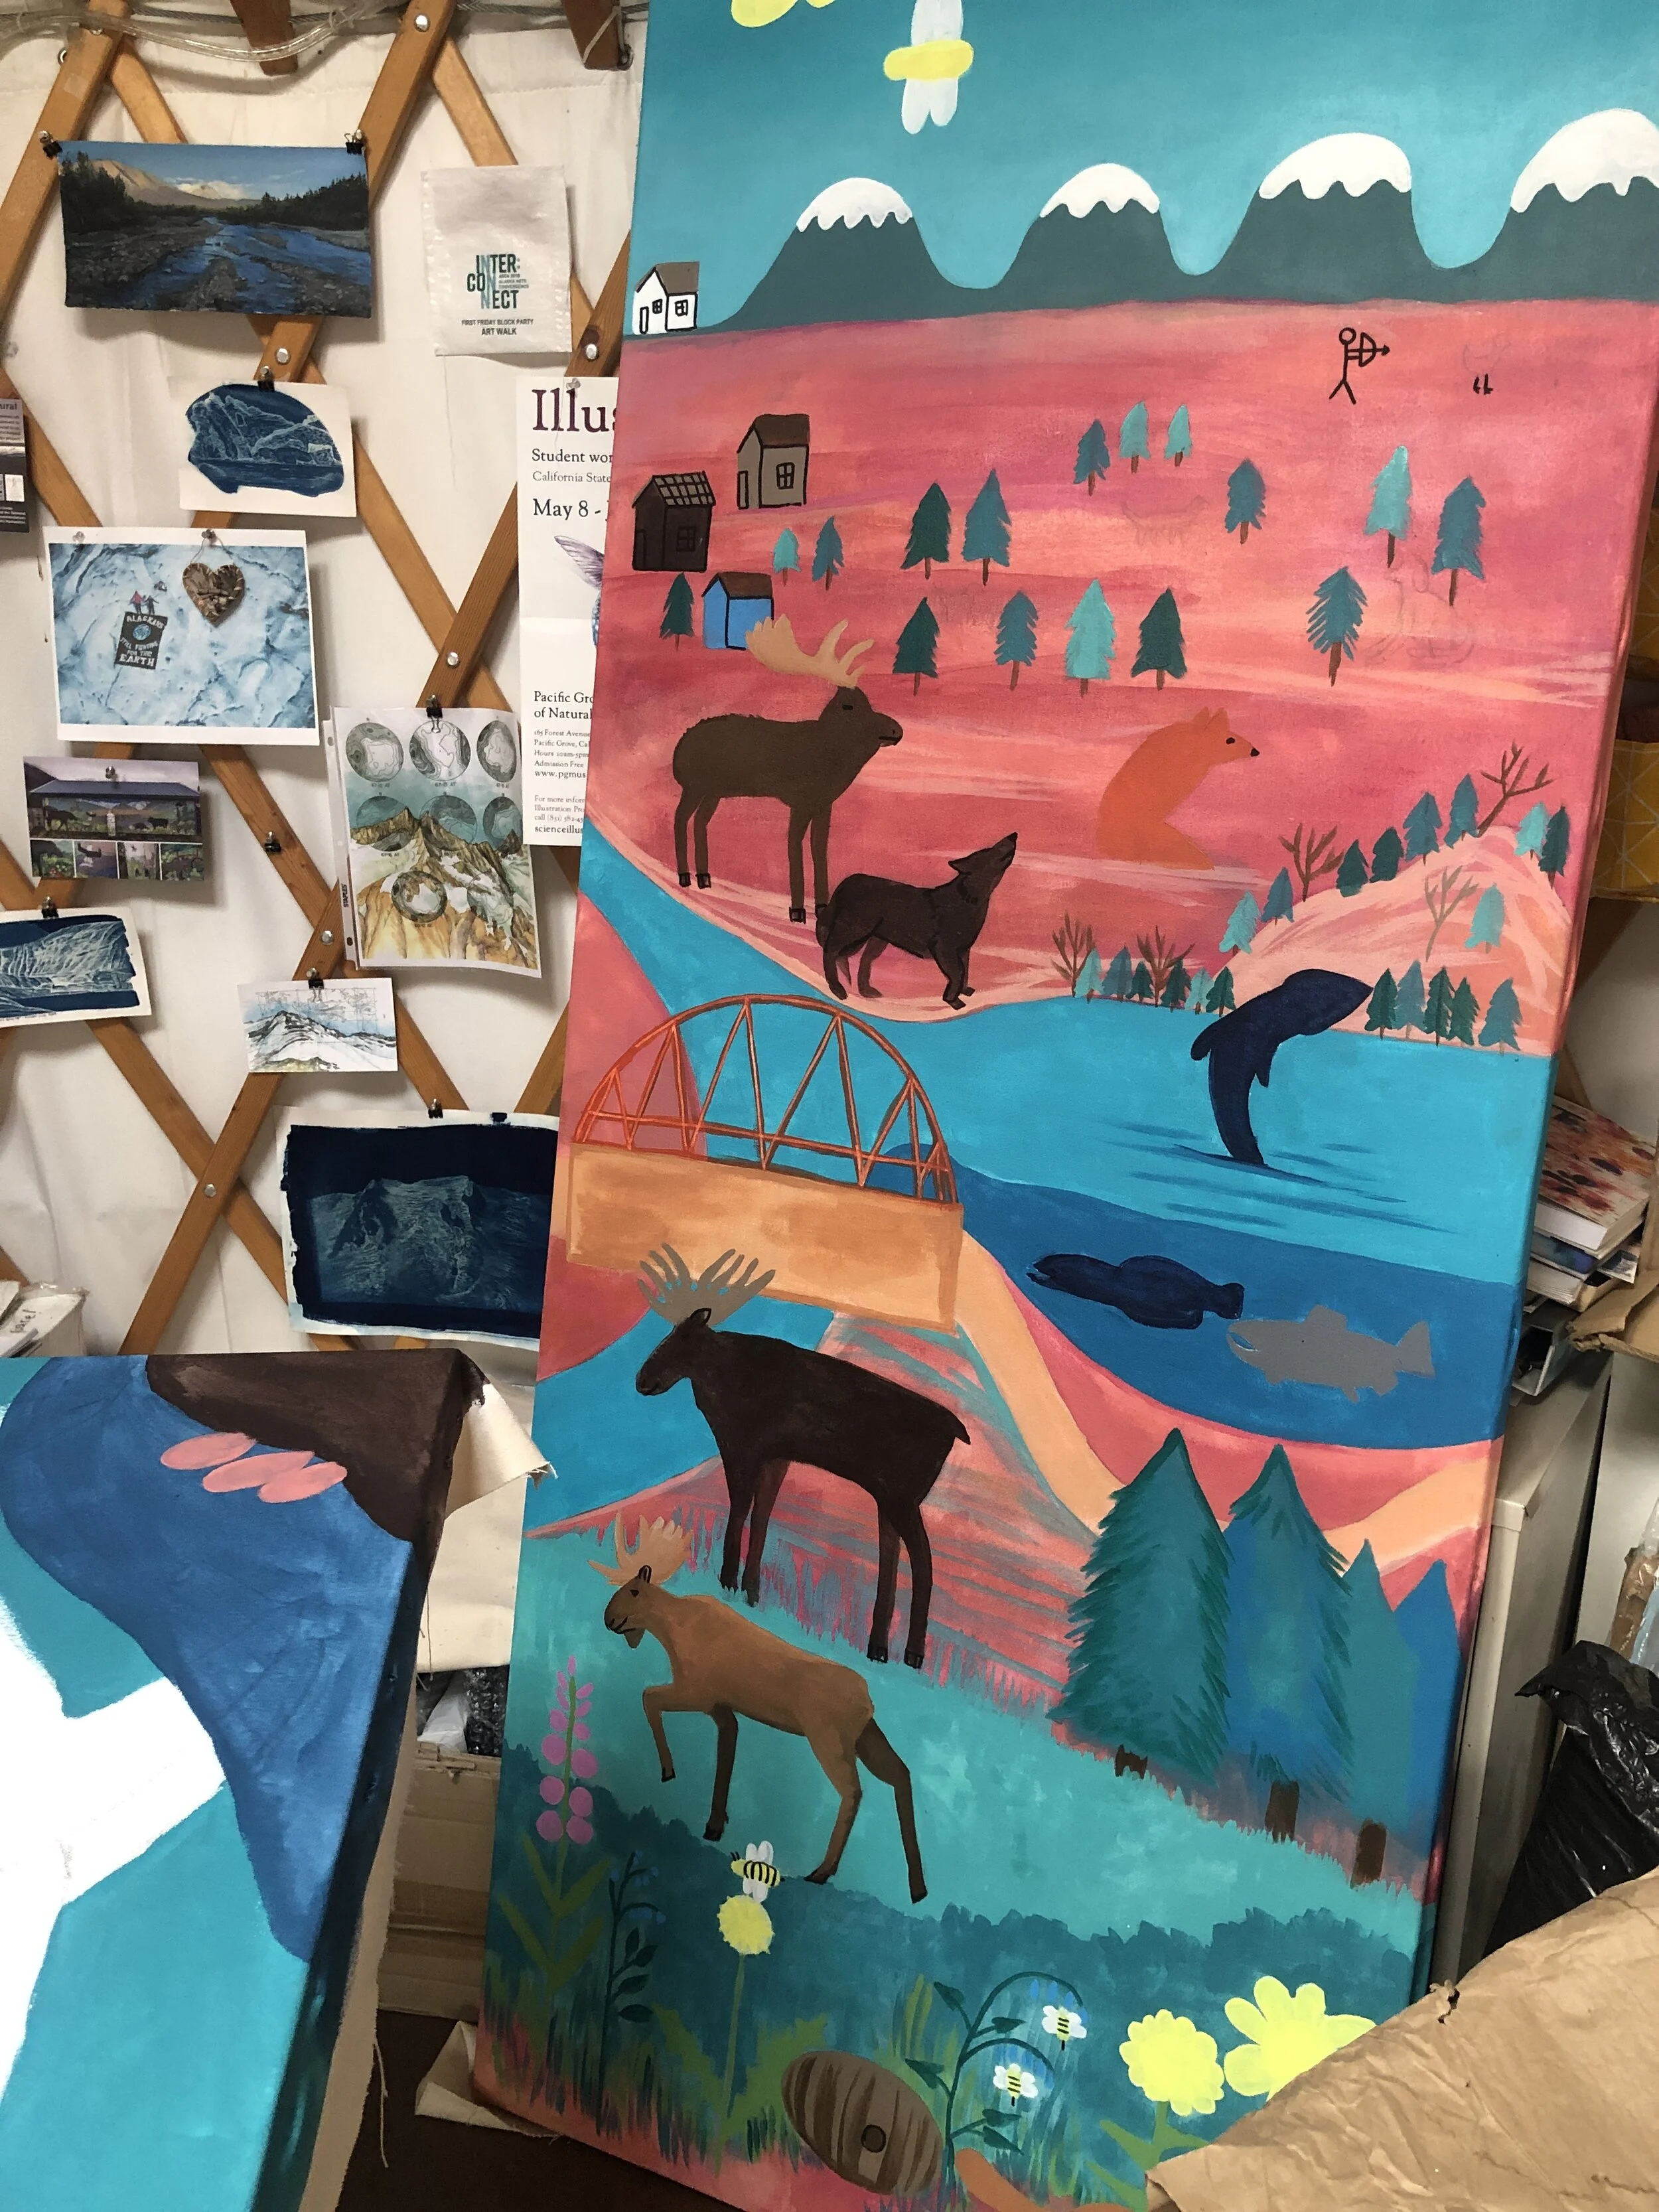
Below are some photos of the murals being painted. Click on images to see them in a larger format. Scroll down to find mural designs and lessons.


Communities and schools involved in the project
Lesson 1: Introduction to the project. Brainstorm what is important in your community.
Lesson 2: Create drawings for mural based on brainstorm list. Demonstration examples linked below.
Materials: Drawing paper or copy paper, light blue colored pencil, drawing pencil or drawing pencil set, photo references (optional)
Steps: 1) Do your image research. Find images to reference online, in books, or around your house or classroom (or out the window!). Do not copy photos or illustrations exactly. It helps to work from 2-3 photos or artworks so you can take elements of each. You can also draw from your memory.
2) Plan out your drawing. You want to fill most of the page.
3) Draw out the main shapes of your subject with a light blue pencil. I like to work from the inside out. What ovals, triangles, squares, lines, or other shapes make your subject. Pretend you are a sculptor or a carver working with blocks of mud or bone.
4) Finish sketching in the form with a blue pencil.
5) Go over the rough blue pencil sketch with a graphite pencil. Refine and define the shape (again like a sculptor or carver).
6) Add some texture and detail that you think are important
7) Scan or photograph your drawing (scanning is best) so we can use it for the mural design.
8) Celebrate! Thank you so much for your contribution! This is going to be exciting.
Lesson 3: Watercolor. This is optional while I am working on mural designs students can practice with watercolor and create paintings of the illustrations they made for the mural.
Materials: Watercolor set, brush, a cup of water, paper towel, pencil, watercolor paper.
Introduction to watercolor techniques. In this video, I go over some basics of painting with watercolor: 1) Swatch out colors 2) Washes - flat, graded, wet on wet, two-color 3) Lines and brushwork 4) Layering washes - glazing and adding texture.
Steps:
1) Draw the subject on paper. Redraw from your illustration or transfer by tracing or using a graphite transfer (rubbing pencil on back of drawing and going over the lines).
2) Work from light to dark. Make note if you want to save any white space.
3) Optional, paint in a light background wash
4) Paint in light washes for the main colors in your subject
5) Once the light wash layer is dry add another layer for shadows or to darken colors in some areas. Think about adding a bit of variation (see below)
6) Add a few details or bits of texture.
Note I talk a bit about warm and cool colors. Warm colors like pink, red, orange, yellow, and yellow-green come forward or seem closer in a painting. Cool colors like blue, violet, and blue-green feel farther away. Cool colors are also good for shadows. I like to add some warm and cool colors to add variation. Variation makes the picture more interesting to look at.
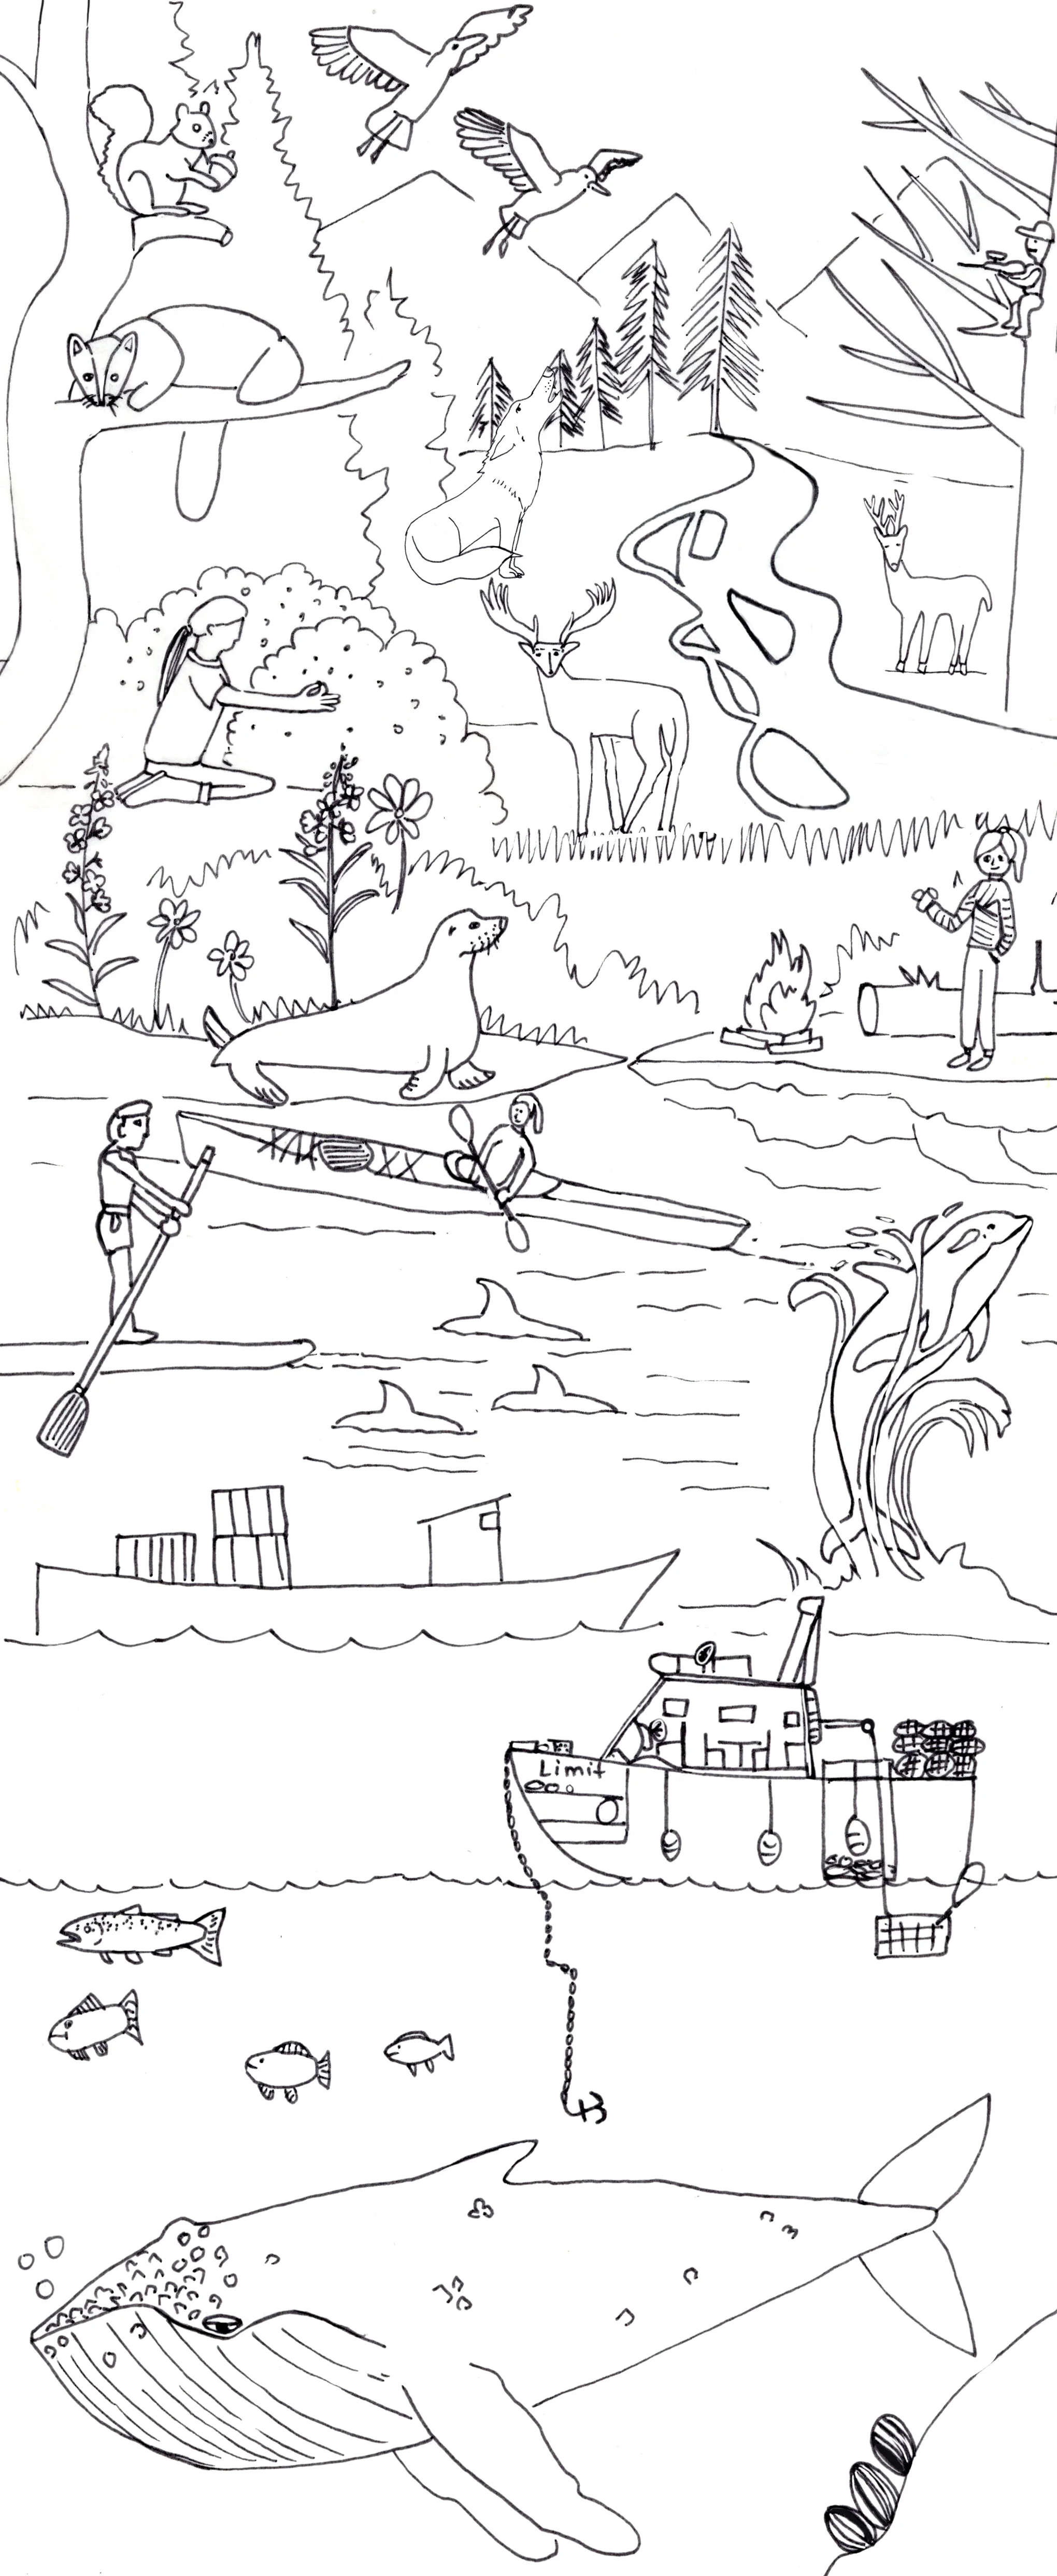
Mural Designs created with student artwork. Kristin arranged the student drawings and then created a line drawing composition to paint from. Click on the drawings below to see the full design.


Lesson 4: Feedback on Mural Design. Once you send Kristin the drawings from your class, Kristin will put them together into a composition. She would love input from the class on the mural design. We can schedule a 30-minute lesson to do this in person (and to check in on the project or do a mini watercolor demo) or classes can do it independently.
Questions for discussion:
Find your artwork in the mural design (if you gave permission for your art to be used). Are you happy with how it looks? Do you have any changes?
What did you draw for the mural? Include the name in English and your Language(s) if you would like.
Do you have a story about what you drew for the mural? Why did you pick that subject? Why is it important to your community?
What do you like about the mural design?
Is there anything that is incorrect or that should be changed? Is there anything missing?
Worksheets with mural designs:
Lesson 5: Watercolor Coloring Book: Once the mural designs are finished from all seven schools we will print a coloring book with them on watercolor paper. Students can watercolor in their own version of the murals and see the work from students all over Alaska!